|
Project-based learning through stop motion.
Each year at our Big Learning Challenge institute, we harness the power of 21st century capacities and offer educators the opportunity to navigate the project-based learning process as participants, as well as teachers looking to implement new instructional strategies in their classrooms.
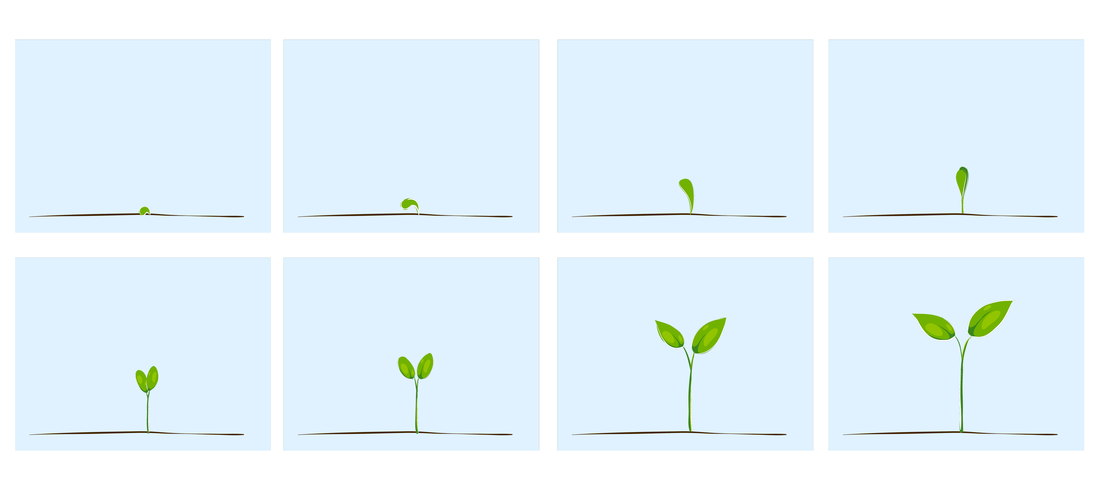
At our last institute, we explored the theme of seeds, and set out to address the question: what happens when you plant a seed? In a unique stop motion workshop, we allowed teachers to determine how to represent their response (literally, or with an abstract interpretation?), decide on a story line (which scenes would they include?), and create their props using clay and paper. It wasn't child’s play, though — they were on a mission to create a stop motion film by the end of our session. Stop motion is a film making technique which uses a sequence of still images to create the illusion of movement. When the individual images are combined, slight movements in the figures that are photographed create “motion” in the film. This technique was fitting for our project-based learning (PBL) focus at the Big Learning Challenge, since PBL is a dynamic approach that allows for collaboration, problem-solving, and creativity.
Using technology to tell stories
Each team of teachers would need to determine how to represent their response (literally, or with an abstract interpretation?), decide on a story line (which scenes would they include?), and create their props using clay and paper. Before we started, I could sense that some teachers were nervous about tackling this project a short amount of time. It was a new concept for some, and required a bit of software to accomplish. We used the Stop Motion Studio app, which is free and easy to use. The app allows you to capture photos using your phone, adjust your frames per second (FPS), and easily export your finished product as a movie file. From there, it’s simple to share your work on various platforms. Once we’d covered the tools we could use, we were ready to begin the film making process. As each group moved on to making their films, they were deeply engaged in their work. To make a short film, they had to create about 6-10 photos for each second of the film. For a one minute film, that means creating 100-150 photos! This detailed work was achieved through a diligent process of creating scenes, moving props, taking pictures, and moving props again, over and over until reaching the desired result. When their films were finished, we discovered that both teams created two very different stories: one team created a more scientific story about plant growth, while the other took on a social studies perspective, exploring how individuals cultivate values.
What would this project look like in your classroom?
But that was not the end of it. Sure, we had fun making these clips (the outcomes were amazing!), but our larger purpose was to explore how teachers could bring this activity back to their classrooms. Throughout the process of creating a short film, teachers were tasked with being creative, organized problem-solvers. They faced challenges when working with props, developing storylines, and had to exercise patience while learning a new technique. By experiencing these elements for themselves, they were better equipped to anticipate the benefits and challenges of implementing a similar project with their students. Each teacher set out to imagine how this project could be replicated with their students. They explored ideas like using stop motion to examine narrative structures in ELA classrooms, help ELLs learn adverbs of sequence, and to create an interdisciplinary project for a technology and media class. How might you implement a stop motion project in your classroom? Check out these ideas to help you get started:
We hope you try a stop motion project in your classroom! |
|
The Center for Professional Education of Teachers (CPET) at Teachers College, Columbia University is committed to making excellent and equitable education accessible worldwide. CPET unites theory and practice to promote transformational change. We design innovative projects, cultivate sustainable partnerships, and conduct research through direct and online services to youth and educators. Grounded in adult learning theories, our six core principles structure our customized approach and expand the capacities of educators around the world.
|
ABOUT US
525 West 120th Street, Box 182 New York, NY 10027 416 Zankel Ph: (212) 678-3161 [email protected] Our Team Career Opportunities |
RESOURCES
Professional Articles Ready-to-Use Resources Teaching Today Podcast Upcoming PD Opportunities |
COACHING SERVICES
Custom Coaching Global Learning Alliance Literacy Unbound New Teacher Network Student Press Initiative |


